001 - Tacoma Cigarette Lighter Light
Found a way to reuse the OEM light fixture
PROJECT
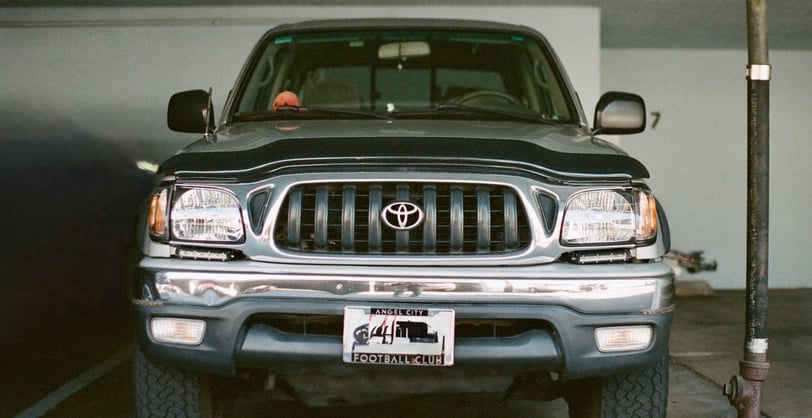
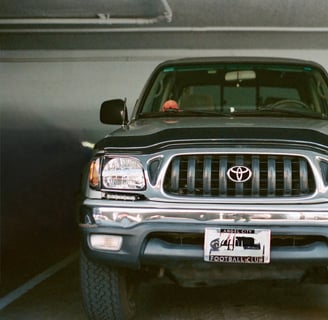
I recently started talking to a co-worker about cars and drag racing, and it definitely re-sparked my interest in fixing and improving some "quality of life" items on my daily vehicle, a 2003 Toyota Tacoma. I love my truck; it has never let me down. She's simple, elegant, and low maintenance (unlike sum you hoes). I hope to drive the truck till the wheels fall off, but to get to that point, it's going to need a bit of love and care.
You could definitely get lost and overwhelmed with all the things that are possible to modify on a "first gen" Tacoma. It's ridiculous but beautiful that people are willing to put time, money, and effort into such an old platform. I, on the other hand, don't have money, so my Tacoma is stock AF haha. Before this site was a thing, I had already done some LED upgrades to the truck, interior, and exterior. My favorite LED upgrade was definitely the dashboard it looks crisp and brought the truck into the future.
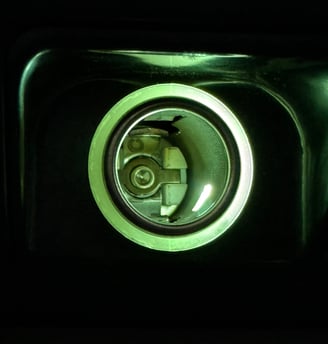
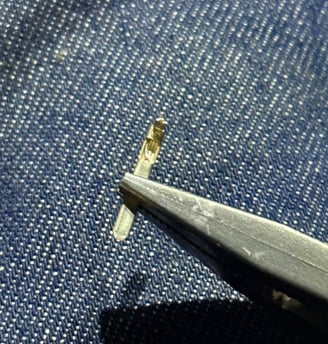
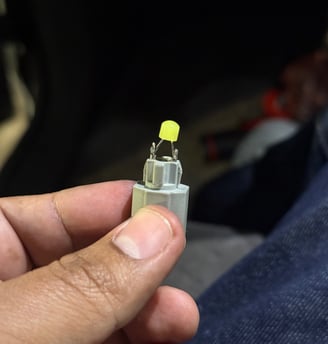
I had to recently replace some of the LEDs I had upgraded because they were faulty; you get what you pay for ughhh. Anyway, I got to the cigarette lighter portion of the center console and remembered that I couldn't find any helpful information on how to replace it or if it even had an LED equivalent. I studied it a bit and accidentally snapped off the bulb from the fixture. This was a good thing actually because since it was already broken you can't break it more. (literally my motto).
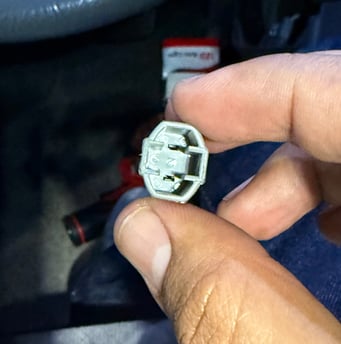
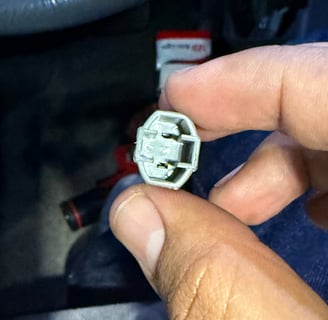
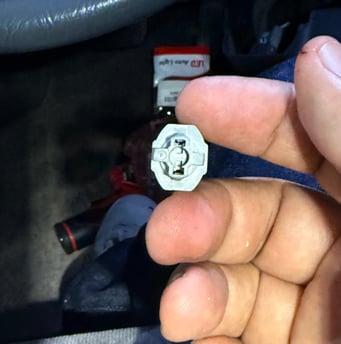
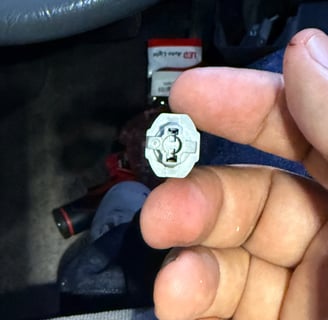
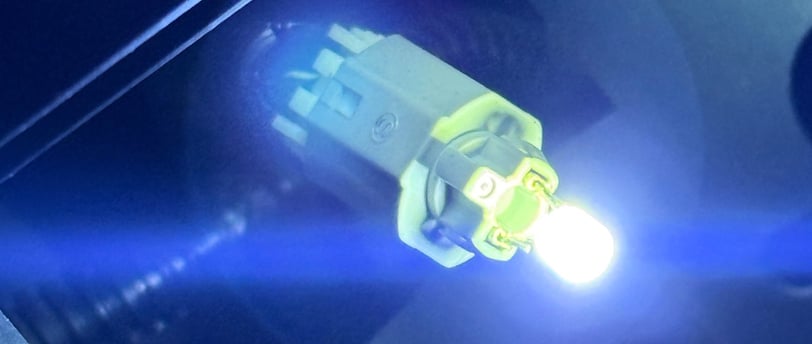
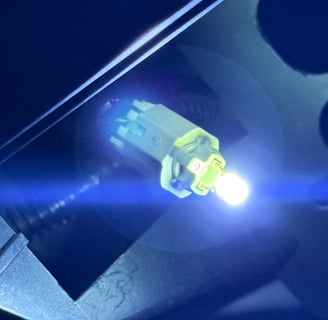
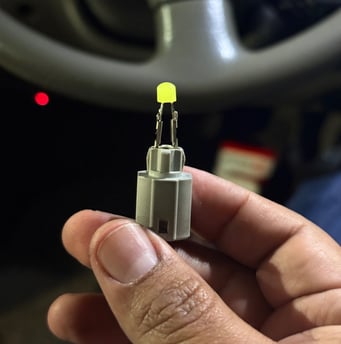
Toyota sells the bulb which is actually the bulb + fixture in one. I learned it's not something that can be swapped out but I did anyway and this is where my tinkering skills come into play. Step 1: Snap off the bulb. Step 2: Push fixture plugs inward using plyers. Step 3: Clean out the gap where the wire from the bulb was crimped. Step 4: Take a known working LED and remove it from its cheap plastic housing. Step 5: Fold LED legs and fit into the gap of each plug prong.
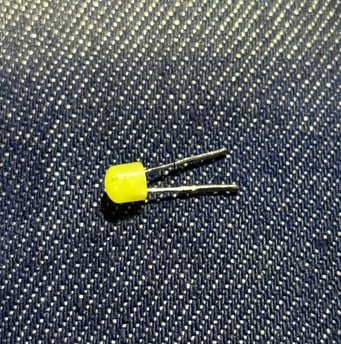
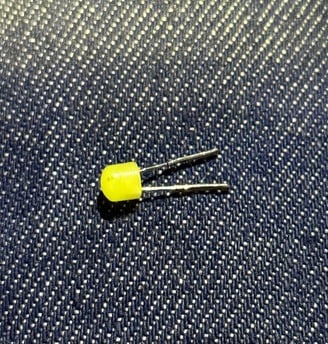
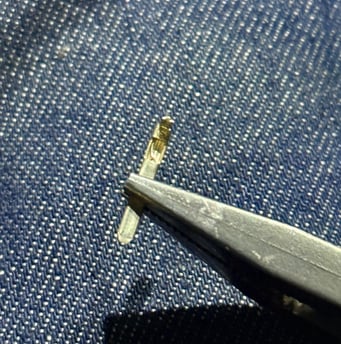
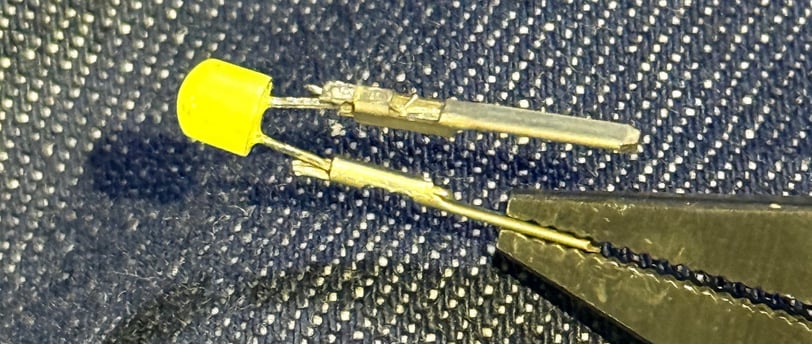
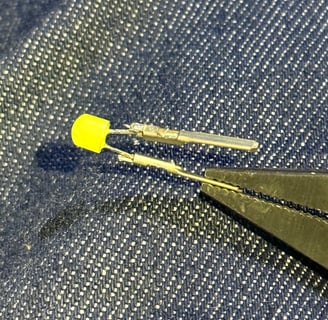
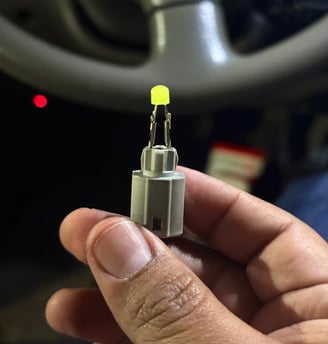
Step 6: If you have the know-how, I'd recommend soldering where the crimp is supposed to be, but all I did was pinch with pliers till the LED stopped wiggling in the gap. Step 7: Fit the prongs into the fixture and tap them in until they are both seated down all the way. Step 8: Connect the fixture to the plug keeping in mind the polarity (flip if needed).
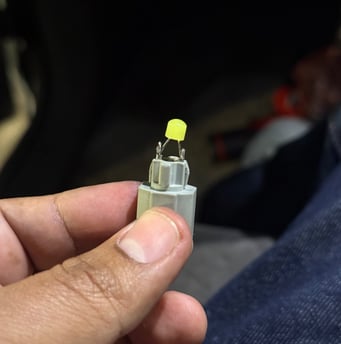
Then just tuck everything back to where it belongs and you now have a working cigarette light. Wait. How do you get to light?? My bad. A somewhat easy way I've found is to remove the ashtray and then unscrew the 2 screws holding a metal plate right above it. While you're there swap out the ashtray LED... Oh? You didn't know there was a light there too?? ME EITHER!

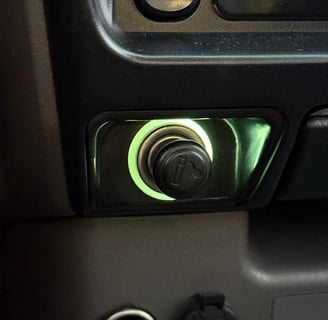
Reach behind where the lighter hole sits and unplug the fixture. You will, very much, need some finger dexterity and patience for this mod but I think it's worth it. The funny part is that I don't smoke or use that outlet ever but it's definitely cool as heck now